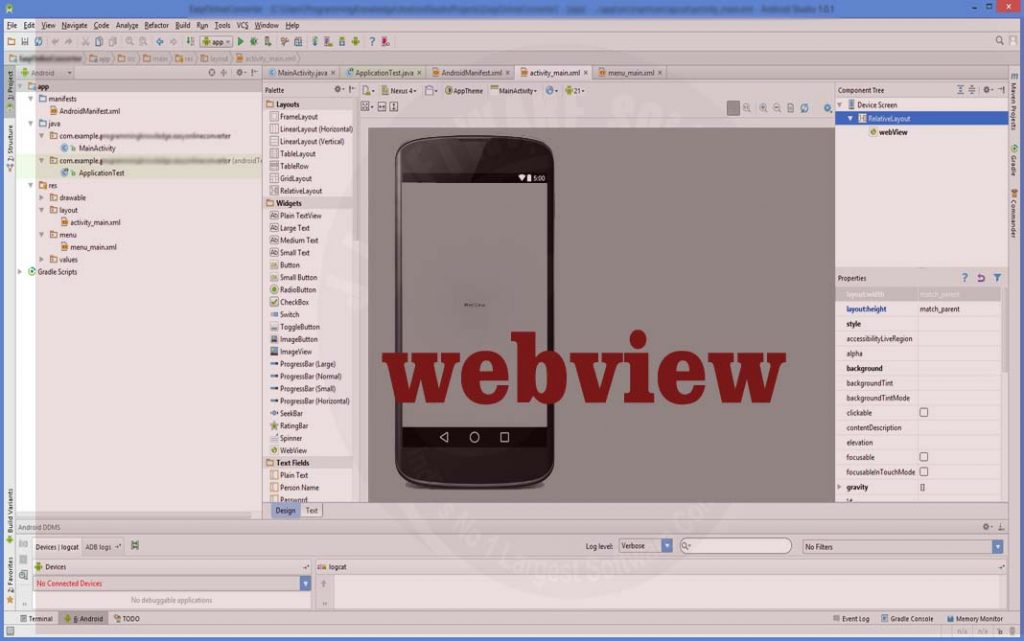
How to Convert a Website into Android Application using Android Studio lets create a project.
Step 1 – Create new Android project.
Give Activity name as akdoogle.
Step 2 – Add a webView to your action as appeared in the image underneath.

layout/activity_main.xml
<manifest xmlns:android="http://schemas.android.com/apk/res/android"
    package="com.example.programmingknowledge.easyonlineconverter" >
    <uses-permission android:name="android.permission.INTERNET"></uses-permission>
    <application
        android:allowBackup="true"
        android:icon="@drawable/ic_launcher"
        android:label="@string/app_name"
        android:theme="@style/AppTheme" >
        <activity
            android:name=".MainActivity"
            android:label="@string/app_name" >
            <intent-filter>
                <action android:name="android.intent.action.MAIN" />

                <category android:name="android.intent.category.LAUNCHER" />
            </intent-filter>
        </activity>
    </application>

</manifest>
src/main/AndroidManifest.xml
<?xml version="1.0" encoding="utf-8"?>
<manifest xmlns:android="http://schemas.android.com/apk/res/android"
    package="com.example.programmingknowledge.easyonlineconverter" >
    <uses-permission android:name="android.permission.INTERNET"></uses-permission>
    <application
        android:allowBackup="true"
        android:icon="@drawable/ic_launcher"
        android:label="@string/app_name"
        android:theme="@style/AppTheme" >
        <activity
            android:name=".MainActivity"
            android:label="@string/app_name" >
            <intent-filter>
                <action android:name="android.intent.action.MAIN" />

                <category android:name="android.intent.category.LAUNCHER" />
            </intent-filter>
        </activity>
    </application>

</manifest>
MainActivity.java
package com.example.programmingknowledge.easyonlineconverter;

import android.support.v7.app.ActionBarActivity;
import android.os.Bundle;
import android.view.Menu;
import android.view.MenuItem;
import android.webkit.WebSettings;
import android.webkit.WebView;
import android.webkit.WebViewClient;


public class MainActivity extends ActionBarActivity {
    private WebView myWebView;
    @Override
    protected void onCreate(Bundle savedInstanceState) {
        super.onCreate(savedInstanceState);
        setContentView(R.layout.activity_main);
        myWebView = (WebView)findViewById(R.id.webView);
        WebSettings webSettings = myWebView.getSettings();
        webSettings.setJavaScriptEnabled(true);
        myWebView.loadUrl("http://www.easyonlineconverter.com");
        myWebView.setWebViewClient(new WebViewClient());
    }

    @Override
    public void onBackPressed() {
        if(myWebView.canGoBack()) {
            myWebView.goBack();
        } else {
            super.onBackPressed();
        }
    }

    @Override
    public boolean onCreateOptionsMenu(Menu menu) {
        // Inflate the menu; this adds items to the action bar if it is present.
        getMenuInflater().inflate(R.menu.menu_main, menu);
        return true;
    }

    @Override
    public boolean onOptionsItemSelected(MenuItem item) {
        // Handle action bar item clicks here. The action bar will
        // automatically handle clicks on the Home/Up button, so long
        // as you specify a parent activity in AndroidManifest.xml.
        int id = item.getItemId();

        //noinspection SimplifiableIfStatement
        if (id == R.id.action_settings) {
            return true;
        }

        return super.onOptionsItemSelected(item);
    }
}
menu/menu_main.xml
<menu xmlns:android="http://schemas.android.com/apk/res/android"
    xmlns:app="http://schemas.android.com/apk/res-auto"
    xmlns:tools="http://schemas.android.com/tools" tools:context=".MainActivity">
    <item android:id="@+id/action_settings" android:title="@string/action_settings"
        android:orderInCategory="100" app:showAsAction="never" />
</menu>
OUTPUT
run your android app, and you will see the following result

To Report Link/Software Issue contact us through My contact us page.
This material was given by akdoogle.com/ just for instructive/educational purposes .Administrator isn’t liable for its content.Follow us via web-based networking media/download application to keep awake to date with our product refreshes!


